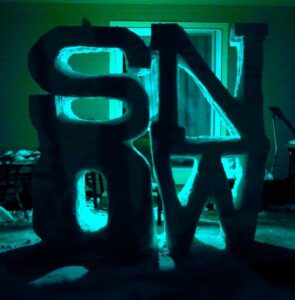
GRANDVIEW GATEWAYS SNOW SCULPTURE CONTEST
GRANDVIEW GATEWAYS SNOW SCULPTURE CONTEST
Kindly download the registration form using this download link. Print, fill and send to admin@grandviewgatewaysinc.org
HOW TO MAKE A SNOW SCULPTURE
Materials needed:Age: Preschool and up
Time: 1 hour or more
- A pile of well packed snow*
- Warm dry clothes
- Warm dry boots
- Regular snow shovel (to cut large shapes)
- Smaller beach shovel (for detail work)
- Spoon (for fine details)
- Spray bottle of water (optional)
* Professional snow sculpture contests often start with teams working large cubes of well-packed snow. If you want to keep your sculpture on the smaller scale, you can start with a smaller cylinder. Just pack a clean plastic trash can with snow, flip it over, and you’ll be sculpting away.
Playing in the snow
When it comes to playing in the snow, kids love it and we adults often get cold feet. Literally. This doesn’t have to be the case. Use the next snowfall as an excuse to get creative with kids.
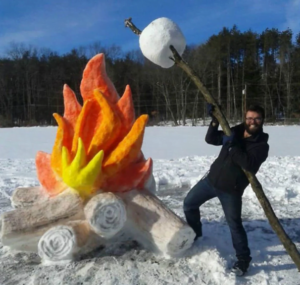
Snow sculpture and ice castles are the winter equivalent of sandcastles. Sand and snow can be used to produce stunning works of art. To create a snow sculpture, all you need is a pile of well-packed snow, an idea, and a few simple tools.
Hacking away
To make a sculpture, sketch it first. You can even outline it on the side of the block of snow. Work carefully. Be patient. Don’t worry if you chip out a little too much snow. It’s pretty easy to pack a little snow back on.
Use your snow shovel to roughly block out the basic shape of your creation. Next, use the beach shovel to further refine the shapes and, finally, switch to spoons and butter knives for the final touches. (In competitions, snow sculptors use sandpaper for a smooth, final finish.) At this point you might want to try using the spray bottle to lightly mist the surface. The mist will melt a thin layer of snow and should quickly refreeze to a sheen of ice. This will make it easier for you to sculpt the finer details. The trick is not to use too much water. You want to be working with snow, not a slush puppy. Add colour to your snow sculpture by dissolving food colouring or clothing dye in water and painting it on the sculpture or mixing it with the snow. Spray water, using a clothes spray or garden spray or brushing on water with a paint brush can add a nice glaze to your object.
And don’t forget about props! If you build a snow car, for example, try using some coloured paper plates for hubcaps. Sticks make good windshield wipers.
Project ideas to get you started
- You are probably better off by starting small and working your way up toward larger structures. You don’t want your enthusiasm to become victim to an overly ambitious project.
- The basic snow turtle: A mound of snow with legs, head, and shell pattern — very easy to make and ideal for younger kids.
- Snow castle: Pretend that you are at the beach and the snow is sand. More complex but still easy to make.
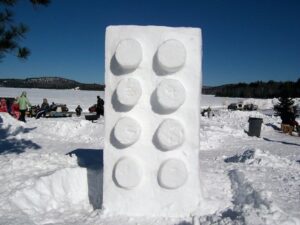
- Simple geometric shapes like blocks, cubes, pyramids, and spheres
- Just remember, your only limitation is your endurance to cold. Let your imagination run free and enjoy yourself!